This isn't the sort of thing that I normally post about, but I have historically shown a few crafty things I've made, so I thought I'd show this.


 Aside from the written report, she also chose to make a puppet of Daniel. Being her loving father, I agreed to lend her some guidance in the matter. I googled various types of simple puppets and found something I thought would work at this href="http://www.sp.uconn.edu/~wwwsfa/library_howto_rodpuppets.htm">link, though I made some significant deviations along the way. We made a trip to our local craft store and picked up just about everything we would need. I don't remember the total amount but it came in under $20.


 We covered the dowel between with more model magic (we used a lot of white Model Magic (MM) and just a bit of orange for that skin color). My daughter put on all the facial features (we had some blue MM leftover from a previous project for those eyes).
 Next my daughter added some rolls of MM to the arms, just to give them some bulk. We were sure to leave bare string at the places we wanted to have the arms jointed (shoulder, elbow and wrist). Again, this probably wasn't the best way- the puppet arms might not last as long as they would had we used wood, but it was much quicker.


 We then wrapped the whole lower part of the body with a blue felt, approximately the color of denim. I also found a cheap watch band to serve as belt. It wasn't long enough to wrap around his whole body, but it would only show in the front. We hot glued it in place and then glued small strips of blue felt into place where the belt loops would be. I think it's little details like the belt especially when made of dissimilar materials from the rest of the puppet that make it feel more high quality. It doesn't have to be something expensive, but it helps hide the technique better, and someone can't simply look at it and say how it was done.
 We couldn't find any brown fur at our craft store, so we had to settle for black. Through trial and error we were able to cut 3 pieces to fit on Dan's head. Be sure to cut fur like this from the back with an X-Acto knife. This allows you to cut the fabric, without trimming the hair on it. That way the hair stays nice and shaggy and hides whatever seams you create. Aside from his hair, you can see Dan's long wrinkly neck below, because that inner ball of MM was being pushed down the dowel by all our activity. Like I said, we fixed that later.


 It was a lot more work than a paper bag puppet or something that she could have done totally without input from me, but she really likes it and hopefully learned a few things. Hopefully he'll hold up for a little while so she can play with him too.


 I don't even have words for the final picture. Awesome isn't nearly adequate.
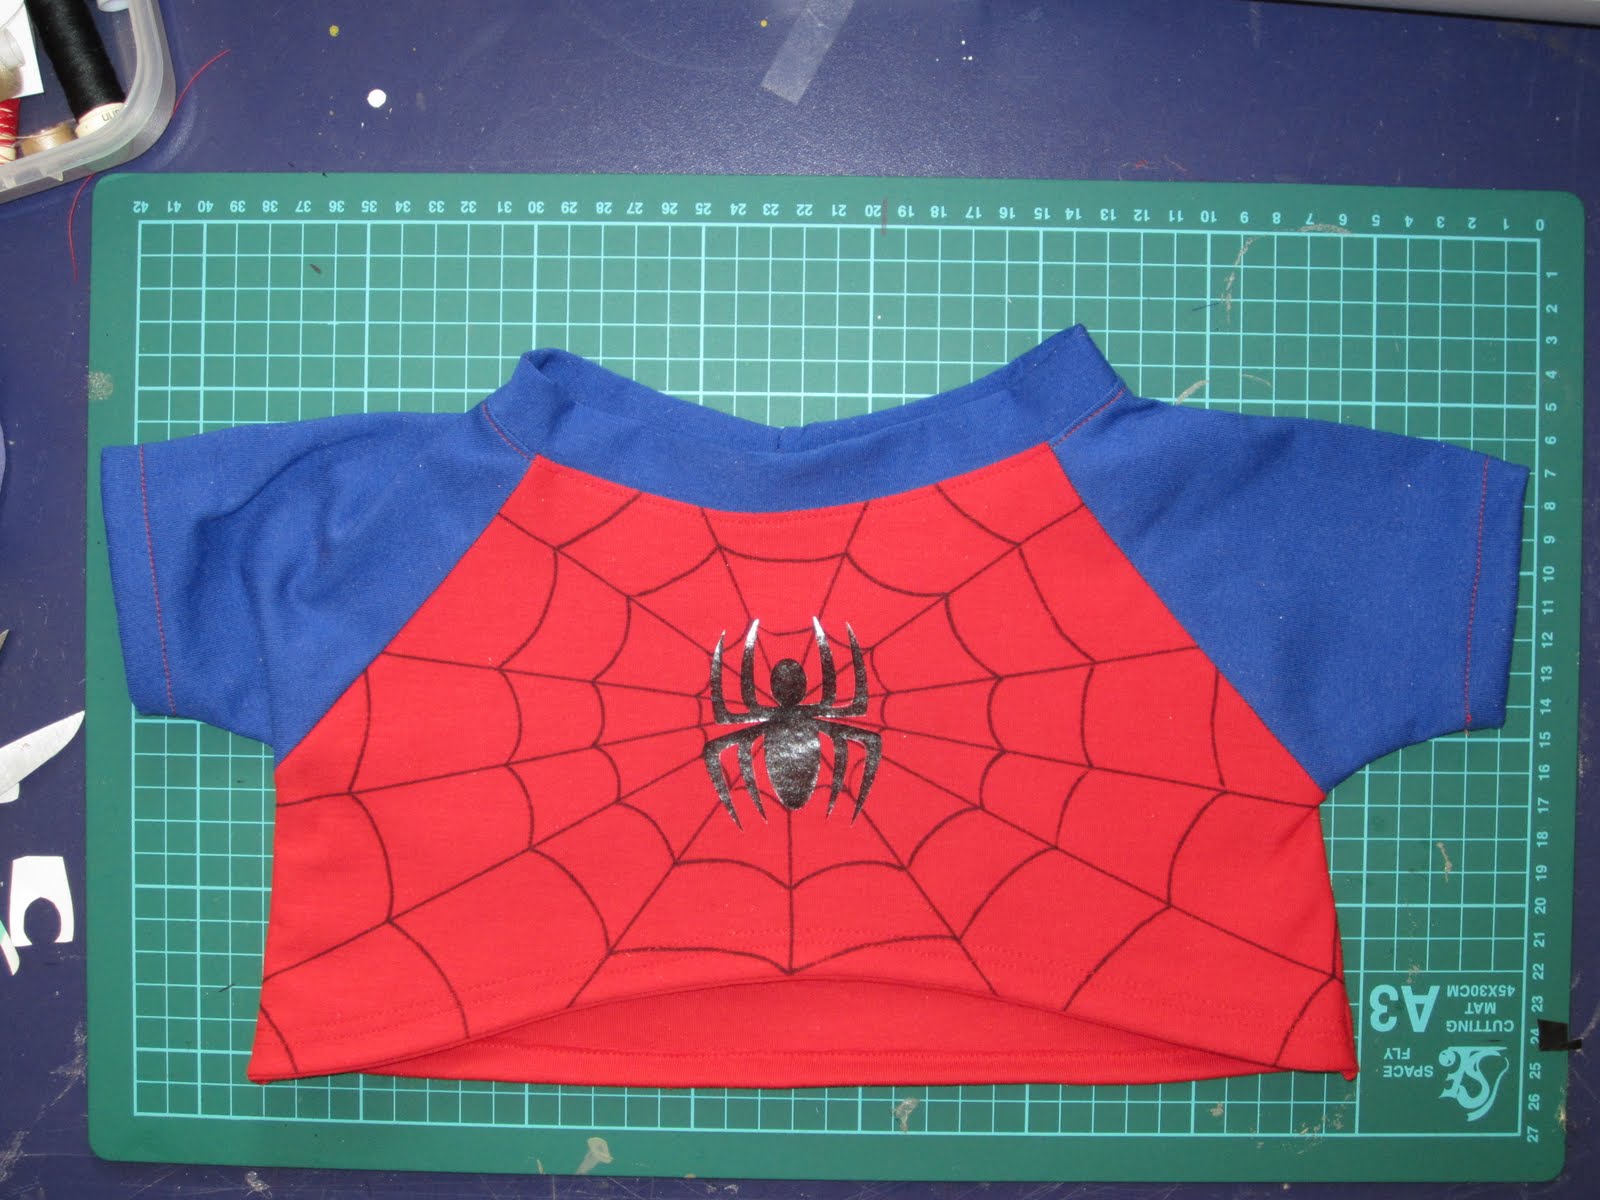
 I think I mentioned that Little Brother is obsessed with Spider Man. So I've asked Jarrod to put him in a kids Spider Man shirt, and a big puffy diaper (Little Brother doesn't like wearing pants). I can't wait to see the next update! Be sure to check out Jarrod's blog and website, not only for a few other pictures of this puppet, but also for a ton of the most amazing character puppets you'll ever see.
The page of drawings above didn't feel quite right. The two at the bottom were better, but he looked too old. Little Brother should just past the toddler stage, where a kid is talking and walking and mobile enough to be trouble, but not old enough for school. Preschool maybe. We often say he's two but I think he's a bit older.
 A lot of what I know about Little Brother has just come from playing the game so much and trying to be consistent with him. My daughter knows when I change something about him. He's obsessed with Spider Man, so I've asked Jarrod to put him in a Spider Man shirt. Other than that, he just wears a diaper. He's usually messy, with a small patch of uncombed hair. He goes from happy to angry really quick, so there's going to be an eyebrow mechanism to accomplish this. And I also wanted him to be able to kinda snicker mischeviously, and I noticed that Oscar the Grouch has a unique mouth, in that besides opening up and down, it also has a bit of side to side play. So I thought that would be good to allow little brother to snicker. Below are some of the progress shots that Jarrod has put on his blog.

 How do you cover a round form? Skin for the head.
 The skin, laid loose over the form of the head, with some foam for cheeks added.
 Believe it or not, these are arm patterns.
 And the inner structure of Little Brother's pudgy little arms.


